Tracking user sessions on your application
Background
When understanding how user's use your application, it is important to understand what they do in one session. That is, what did the user do on that sesion and how did their journey look?
Using a session id allows you to tie together multiple independent logs and events into one stream. This can help with debugging how a user came across a bug or finding common use cases and how you can improve the user experience.
The rest of this guide will show you how you can collect data within a React app and then how you can later retrieve this information using trckrspace.
Implementation
This guide assumes you already have signed up for trckrspace, if you haven't you can do this by simply going to app.trckrspace.com (opens in a new tab).
Let's begin by creating a simple React app using yarn and Create React App (opens in a new tab):
yarn create react-app session-trackingIn this simple app, we will just be editing the src/App.js file, but this can
of course be extended to more complex apps. To start off, we delete most of
the initial code in the file to get the following:
import './App.css';

function App() {
    return (
        <div className="App">
        </div>
    );
}

export default App;
Let's now create the session id. To do this we will be using the uuid (opens in a new tab) package. Install this by copying the following:
yarn add uuidBecause we want the uuid to be unique to each browser session, it should
be created dynamically in the app each time the browser is refreshed. To do this
we can simply import the library and create the id at the top of src/app.js:
import { v4 as uuidv4 } from 'uuid';

import './App.css';

const sessionId = uuidv4();

function App() {
    return (
        <div className="App">
        </div>
    );
}

export default App;
The sessionId is now ready to use, we can now add the required trckrspace
constants to get started. To create events in trckrspace the project_api_key
is required, you can find this within the app by clicking the eye icon to
reveal them:
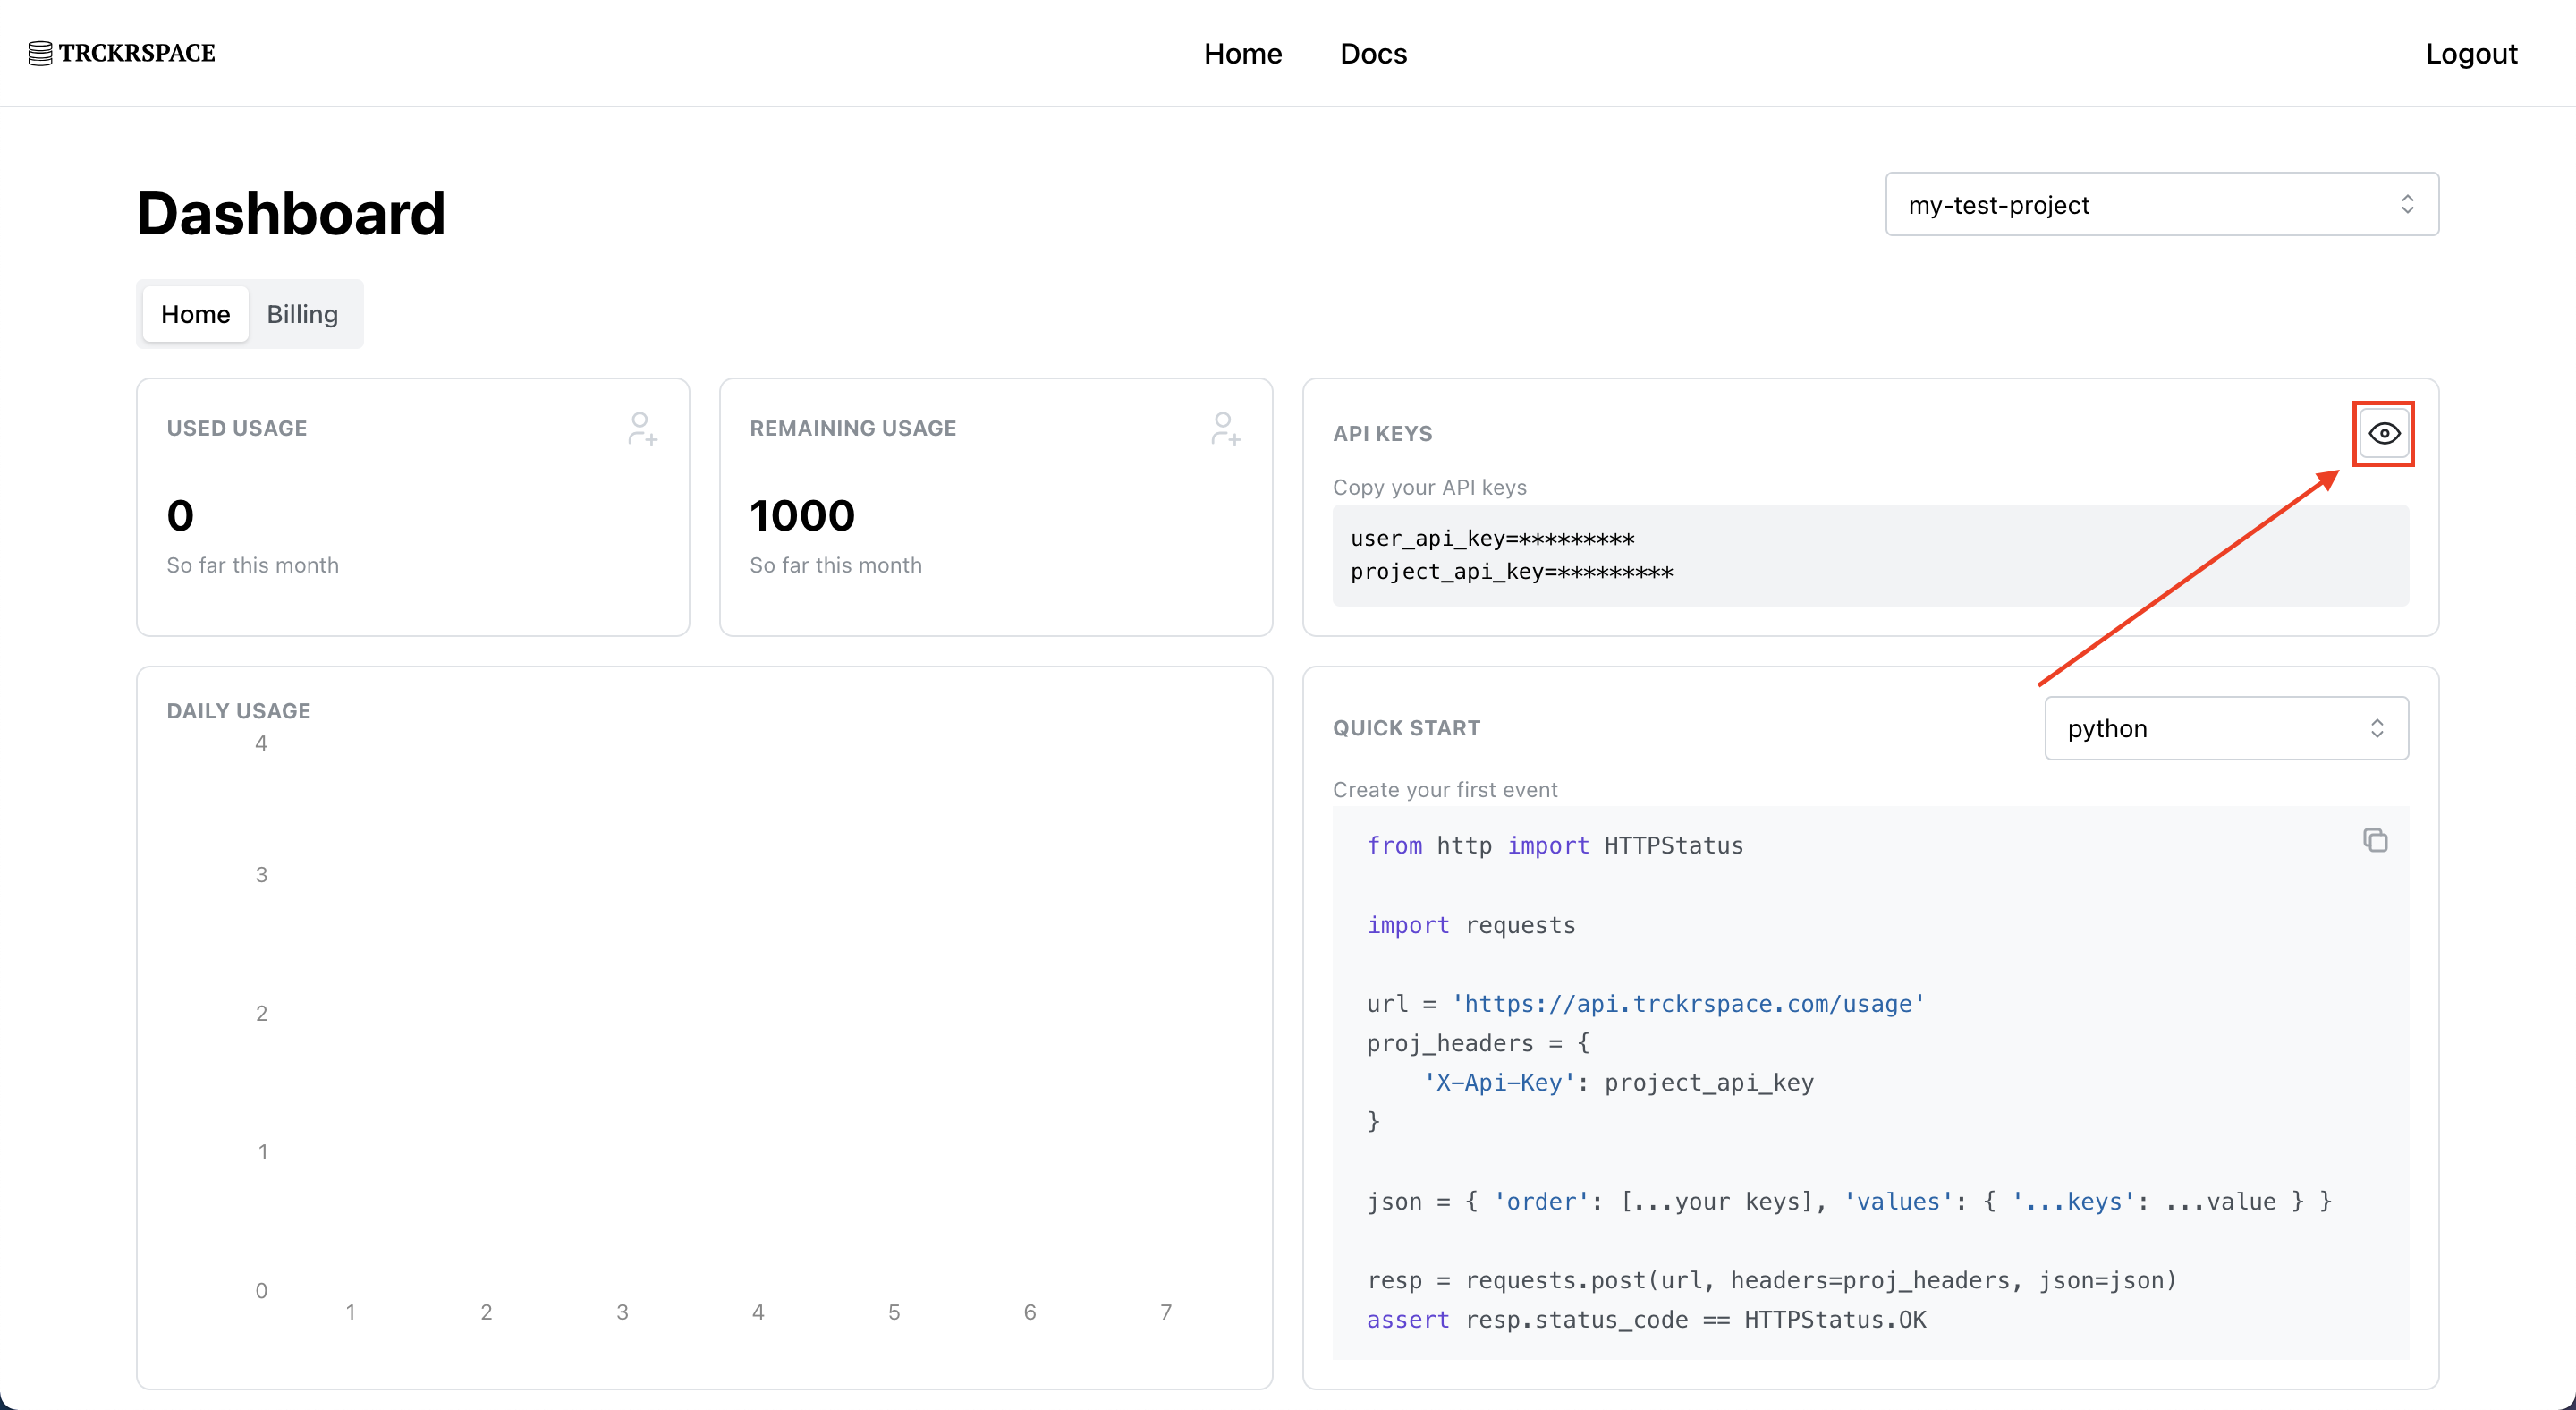
copy the project_api_key and add it to the app as below:
import { v4 as uuidv4 } from 'uuid';

import './App.css';

const sessionId = uuidv4();
const apiKey = '{your api key}';

function App() {
    return (
        <div className="App">
        </div>
    );
}

export default App;
and finally, the last step before we can start logging events is to create a function that we can use to send events to the trckrspace API.
import { v4 as uuidv4 } from 'uuid';

import './App.css';

const sessionId = uuidv4();
const apiKey = '{your api key}';
const url = 'https://api.trckrspace.com/usage';

const logEvent = (event) => {
    fetch(url, {
        method: 'POST',
        body: JSON.stringify(event),
        headers: {
            'Content-type': 'application/json; charset=UTF-8',
            'X-Api-Key': apiKey,
        }
    });
}

function App() {
    return (
        <div className="App">
        </div>
    );
}

export default App;
now, let's create a button so we can see this in action.
import { v4 as uuidv4 } from 'uuid';

import './App.css';

const sessionId = uuidv4();
const apiKey = '{your api key}';
const url = 'https://api.trckrspace.com/usage';

const logEvent = (event) => {
    fetch(url, {
        method: 'POST',
        body: JSON.stringify(event),
        headers: {
            'Content-type': 'application/json; charset=UTF-8',
            'X-Api-Key': apiKey,
        }
    });
}

function App() {
    const buttonClickEvent = {
        order: ['sessionId', 'event'],
        values: {
            sessionId,
            event: 'Clicked button'
        }
    }

    return (
        <div className="App">
            <button
                onClick={() => logEvent(buttonClickEvent)}
            >
              Click me!
            </button>
        </div>
    );
}

export default App;
we're now ready to start the app and try clicking the button. If following along, try clicking multiple times and refeshing and doing the same so you can generate many different events.
Retrieving log events
To view the log events, we now need to make GET requests using the
user_api_key. We will do this with a python script, let's call this
retrieve.py and add the constants and imports (remember to replace
user_api_key with your own):
import requests

base_url = 'https://api.trckrspace.com/usage'
user_api_key = '{your api key}'

start_date = '2024-01-07T12:00:00'
end_date = '2024-01-07T15:00:00'

headers = {
    'Accept': 'application/json',
    'Authorization': f'Bearer {user_api_key}'
}
Retrieving all events
we can now view all the events created doing the following:
import requests

base_url = 'https://api.trckrspace.com/usage'
user_api_key = '{your api key}'

start_date = '2024-01-07T12:00:00'
end_date = '2024-01-07T15:00:00'

headers = {
    'Accept': 'application/json',
    'Authorization': f'Bearer {user_api_key}'
}

url = f'{base_url}/sessionId?startDt={start_date}&endDt={end_date}'
resp = requests.get(url, headers=headers)
assert resp.status_code == 200
print(resp.json())
which will return something like the following:
python retrieve.py
{
    'status': 'OK',
    'result': [
        {
            'event': 'Clicked button',
            'dateTime': '2024-01-07T14:52:19.401658',
            'sessionId': 'b1757605-1ca1-4530-b931-b450b670f2a5'
        },
        {
            'event': 'Clicked button',
            'dateTime': '2024-01-07T14:52:46.704362',
            'sessionId': '89973aba-1025-48bc-9bea-b549ebc2e562'
        },
        ...
    ]
}
Retrieving specific events
alternatively, you can return events for just one specific sessionId by
modifying the script like so:
import requests

base_url = 'https://api.trckrspace.com/usage'
user_api_key = '{your api key}'

start_date = '2024-01-07T12:00:00'
end_date = '2024-01-07T15:00:00'

headers = {
    'Accept': 'application/json',
    'Authorization': f'Bearer {user_api_key}'
}

session_id = 'd02ec570-9b4c-435a-9c75-2efe8c9b9f37'
url = f'{base_url}/sessionId/{session_id}?startDt={start_date}&endDt={end_date}'
resp = requests.get(url, headers=headers)
assert resp.status_code == 200
print(resp.json())
where session_id is the specific session id you would like to filter by. After
running this you should see an output similar to the following:
python retrieve.py
{
    'status': 'OK',
    'result': [
        {
            'event': 'Clicked button',
            'dateTime': '2024-01-07T14:55:27.328057',
            'sessionId': 'd02ec570-9b4c-435a-9c75-2efe8c9b9f37'
        },
        {
            'event': 'Clicked button',
            'dateTime': '2024-01-07T14:55:29.851269',
            'sessionId': 'd02ec570-9b4c-435a-9c75-2efe8c9b9f37'
        },
        {
            'event': 'Clicked button',
            'dateTime': '2024-01-07T14:58:24.047901',
            'sessionId': 'd02ec570-9b4c-435a-9c75-2efe8c9b9f37'
        },
        {
            'event': 'Clicked button',
            'dateTime': '2024-01-07T14:58:27.566790',
            'sessionId': 'd02ec570-9b4c-435a-9c75-2efe8c9b9f37'
        }
    ]
}
as you can see all the results are now relevent to the session with id
d02ec570-9b4c-435a-9c75-2efe8c9b9f37.
Summary
In this guide we showed you how to create a basic application to track events and link them to a session id. While this is a basic example, I hope it is easy to understand how this can be used in your real applications.